Workbook display (columns) |
  
|
Workbook display (columns) |
|
This object displays workbook data in a view. It can be used in the case where you have a column of x-values and one or several columns of y-values and you want to display all y-values vs. the x-values.
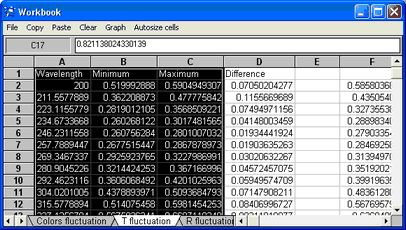
In order to use an object of this type in a view, proceed like this: Open the workbook and select the appropriate worksheet containing your data. Then select the cells that contain the x-values. The first row may contain text which will then appear in the graph labeling the x-axis. Then, in a second step, select the y-values. If you included explaining text for the x-values in the first row, you have to include text for each y-column as well. All y-values must be in a contiguous selection as shown in the example below:

If the x- and y-columns can be marked in one contiguous selection, you can do so like in this example:
After the cells are selected, you have to open the list of views in the main window of SCOUT (Object|Views), select the view which shall contain the new graph and open its object list (Edit or right-click):
Now create in this list an object of type 'Workbook display (columns)' and Update the display in the main window of SCOUT:
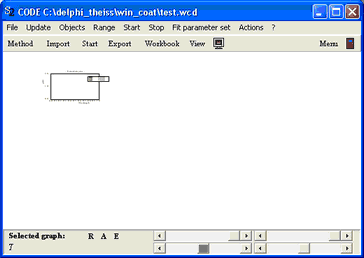
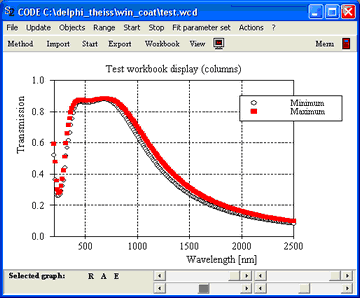
Obviously, this graph needs some fine-tuning!
First of all, you can change the size of the object by dragging while the right mouse button is pressed down. You can drag the object to a new position within the view using the mouse and pressing the Caps key and the left mouse button simultaneously. Try to manage something like this:

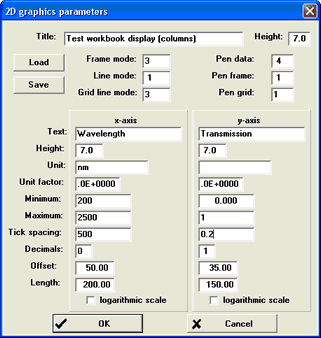
Now, click the graph while the Ctrl-key is pressed down in order to get access to all the graphics parameters. You will go through three dialogs if you have selected multiple columns of y-data. If there is only one column of y-data the last two dialogs are skipped.
The first one gives you the chance to modify the graphics parameters like in many other SCOUT objects. See the SCOUT graphics course for the meaning of all the parameters. In this example, I have made the following settings:
When you have closed this dialog the next one opens which shows a list of all the columns of y-data:

In this dialog (borrowed from Collect objects) you can ignore most of the items. In this context you should use the dialog to change the color and line type of each set of y-data (see the graphics course for available colors and line-types). With a right-click you can toggle the status 'Active'. Only 'active' data sets are displayed in the graph. Try this assignment:

and then close the dialog.
Finally the dialog controlling the appearance of the legend is opened:
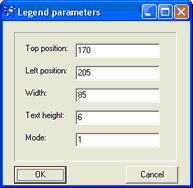
Here you can change the position and the width of the legend box. All numbers are to be given in mm, also the text height.
The mode parameter determines what is shown in the legend: A value of 0 suppresses the drawing of the legend, with 1 the legend will show the name of each data set, with 2 the numerical value assigned to the data sets are given, and with 3 both the names and the numerical values are shown.
Once you have closed this dialog the main window re-draws the view according to the new settings:
From now on the new 'Workbook display (columns)' object is tightly connected to the selected workbook cells. If the cell contents change due to recomputations an update in the main window will cause the display object to get and display the new data.
In the present version of this object type it is not possible to change the referenced workbook range afterwards. If you want to display the content of a different workbook range you have to create a new object as described in the top of this page.