Pane wizard |
  
|
Pane wizard |
|
This wizard determines the optical constants of transparent, thick substrates such as glass panes. You must provide a reflectance and a transmittance spectrum, both recorded at normal incidence of light. In the case of reflectance you can use a spectrum recorded at 8° angle of incidence if the measurement has been performed at random polarization. This is usually achieved by applying no polarizor in the measurement.
Before you apply the wizard by executing the layer stack command Wizards|Pane wizard you should check the following settings:
•Select the database (menu command in the main window: File|Options|Database) where the new pane should appear
•Clear the layer stack and create a new single layer of type Thick layer. The material assignment is not relevant at this time - it will be modified by the wizard. The thickness of the layer will also be set by the wizard.
•Be sure that you have data files with the reflectance and transmittance spectra which can be imported by SCOUT. Both the reflectance and transmittance must be larger than 0, and their sum should not exceed 1.
In the following starting situation
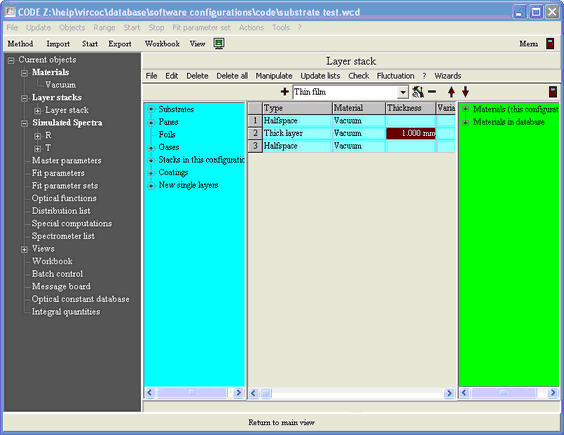
now execute the layer stack command Wizards|Pane wizard. The pane wizard window opens:
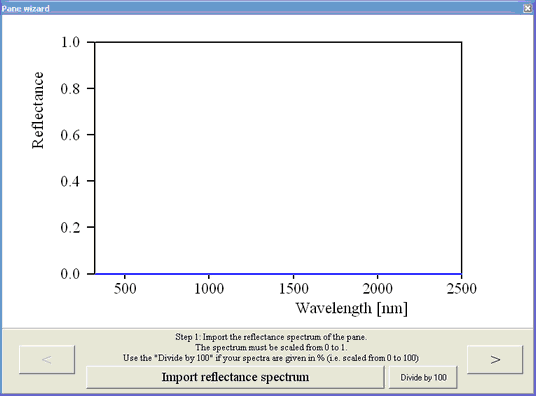
Now simply follow the instructions given by the wizard. First action is to import the reflectance spectrum (press the corresponding wizard button at the bottom). After you have selected the file make sure the spectral unit in the following dialog is set correctly:

If the data are scaled in % (as in the example below)
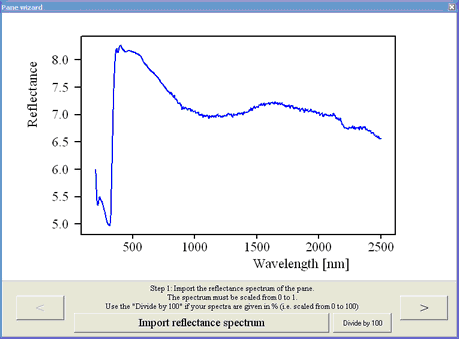
press the button 'Divide by 100':

Now click on the > button to go to the next step:
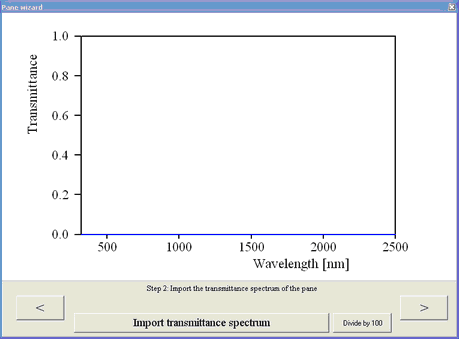
Import the transmittance spectrum and divide by 100 if necessary:

The method used by the wizard requires that the transmittance is larger than 0. Please check out in which wavelength range this condition is true.
When you are done with transmission, click on >:
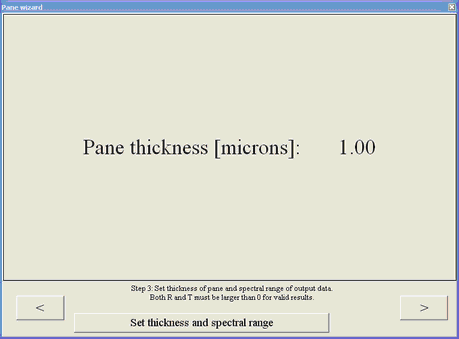
Now click the button 'Set thickness and spectral range' and enter the thickness in the following dialog (be aware of the unit micrometer):

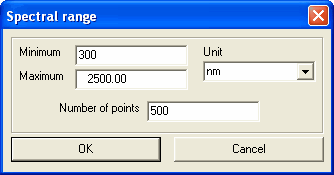
Finally set the spectral range for which you have valid reflectance and transmittance data (T>0, R>0, 1-R-T>=0):
We are now almost through. Click on > again to activate the final computation:

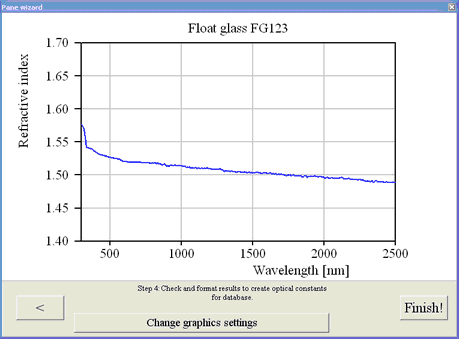
The wizard window now displays the computed complex refractive index. Click the 'Change graphics settings' button if you want to modify the graphics settings. Note that this graph is the one that will be displayed in the database of optical constants. After your modification the graph may look like this:
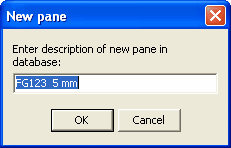
Now click Finish. The wizard asks you for a name which will be used for the material in the database:

In the next dialog you should enter your name since you are responsible for the new database item:

Next you can enter a comment for the new database material:

Finally a database item in the folder Panes is created using the new material and the thickness you have specified in the wizard dialog above. You can set the name of this pane item in the last dialog of the wizard:
The wizard now closes and you will find a new pane item (after execution of the menu item Update lists) in the panes subfolder of the database:
