List properties |
  
|
List properties |
|
Many SCOUT objects use lists to manage a collection of objects. In some cases the objects are all of the same type, in others one list manages various types of objects. A typical list window looks like this:
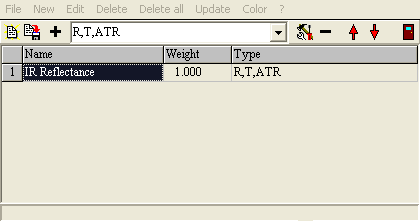
On top are the menu items of the list. Besides the File submenu which is a feature of almost all SCOUT objects the above example shows the items that are common to most list objects:
New ( ![]() )
)
This command creates a new list object. If the list supports only one type of objects a new one is created and appears in the list. Usually you have to choose one of several possible object types. This is done by a selection box like the following
![]()
which shows the object types that may be created in this particular list. An object of the selected type is created when the New command is activated the next time.
If there are already objects in the list and one is selected (simply place the cursor on the object's line to select it) most lists insert the new object before (i.e. above) the selected one. Some lists simply append new objects at the end of the list.
Edit ( ![]() )
)
This activates some mechanism to edit the currently selected object. For objects which are represented by a window this window will be opened giving access to all the objects settings. Objects which are not represented by a window may show a dialog to edit their properties. Some object may not respond at all to the edit command if their properties can be set directly in the list (see below).
An alternative way to activate the 'edit action' is to select an object's line in the list and click on it with the right mouse button.
Delete ( ![]() )
)
This deletes the currently selected item, usually without any warning.
Delete all
Use this command to delete all objects in the list.
Move up ( ![]() ) and move down (
) and move down ( ![]() )
)
For cases where the order of the list entries is important you can move up and down the selected object using the shown speed buttons. These actions cannot be activated by menu items.
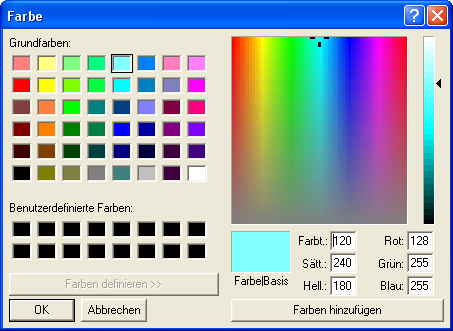
Color
This menu command is available in almost all lists. It opens the standard windows dialog to select a color (depending on your windows version you may get this dialog in your language, of course) for the selected object in the list:
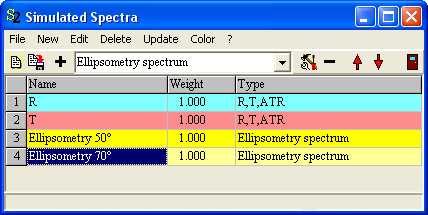
The selected color is used to draw the background of the object in the list. Since the text is displayed in black you should avoid dark colors in order to maintain readability. Here is an example of a list with colored objects:
A double click on an object in a list activates the color dialog as well.
Direct editing
Most text entries in a list can be edited directly by simply placing the cursor on the text and typing in something new. In this case the selected 'text cell' is turned into edit mode which can be seen by the white background color of the cell. Instead of simply starting to type you can switch to edit mode by hitting the return key on your keyboard. A second return key hit shuts off edit mode again.
Cell selected, no editing:
![]()
Cell selected and in edit mode:
![]()
Most objects offer some of their basic parameters (like their name, e.g.) for direct editing which is very convenient if you have to modify many objects in a list. When you finish editing by moving to another cell or by hitting the return key the object decides if it accepts the text entered by you. If not the cell content is restored that was there before you started editing.