The new user-interface of version 2.4 |
  
|
The new user-interface of version 2.4 |
|
In August 2008 SPRAY has been upgraded to version 2.4. This section gives a short summary of the most important program changes.
Main window
In order to indicate that SPRAY 2.4 significantly differs from previous versions, the main window looks different now:
Like our SCOUT thin film analysis software, you can work in SPRAY on two levels: The main window starts in the so-called 'main view level' (as shown above). Unlike in SCOUT, the main view level in SPRAY is still under construction, and you cannot use it at the moment. In the future you will be able to define your own views on SPRAY objects and create flexible user interfaces. What is ready is the so-called treeview level which you enter by pressing F7. With F7 you toggle between the treeview and the main view level.
In the treeview level, you see a treeview of the current SPRAY objects on the left. The branches of the object tree are the various lists that build up the SPRAY configuration:
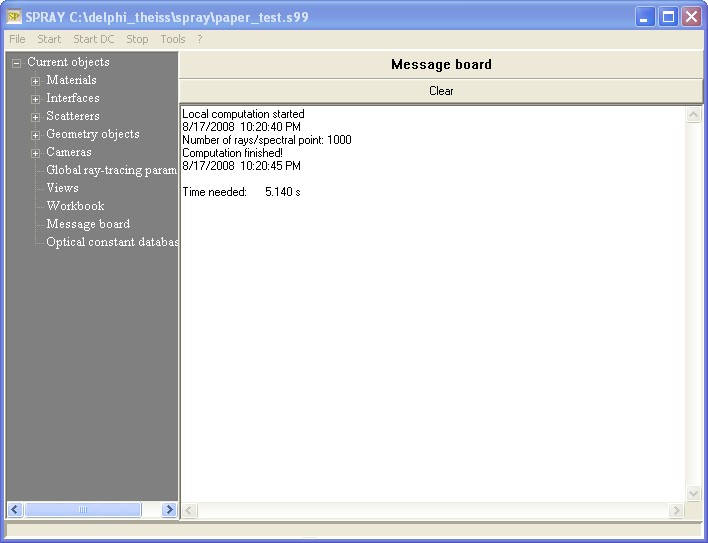
With a right mouse click you can open an object in the treeview - it will show its content in the right half of the main window. The example above shows the situation after a right-click on 'Message board' (The message board has replaced the 'Information panel' that was shown in the main window of previous SPRAY versions.).
A right click on Materials, for example, opens the list of materials that you may recognize from older versions of SPRAY:

Most list objects appear in the treeview as well if you open the treeview branch by a left mouse click on the + to the left of a tree branch. If you expand the tree branch Materials, for example, you will get the following situation:

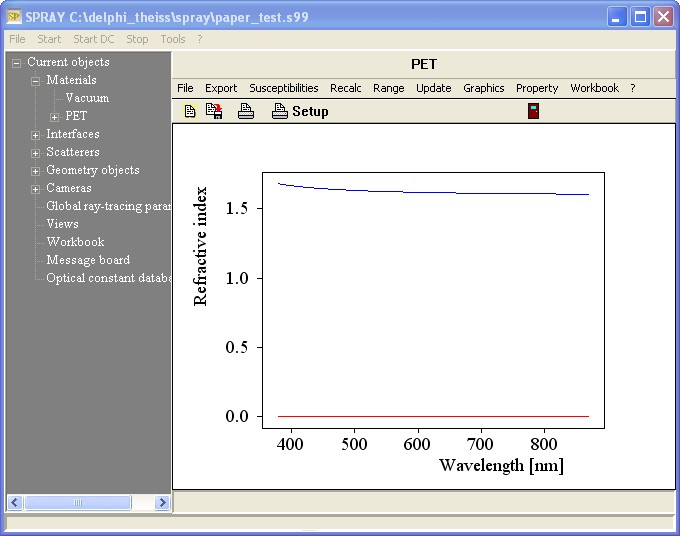
A right-click on the material PET in the treeview opens this object:
Drag&Drop operations are done in the following way: Open the source object of the drag operation in the treeview and then open the target object for the drop operation with a right-mouse click in the treeview. Then drag from the source object in the treeview to the destination in the right half of the window. Here is an example: In order to assign a material to a layer in a layer stack, expand the treeview branch Materials and open the layer stack object as follows:
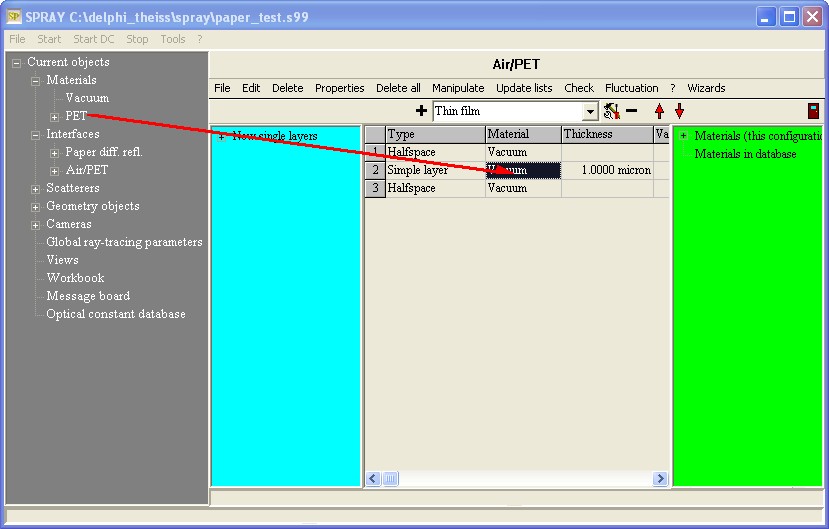
The red arrow shows the direction of the drag&drop movement.
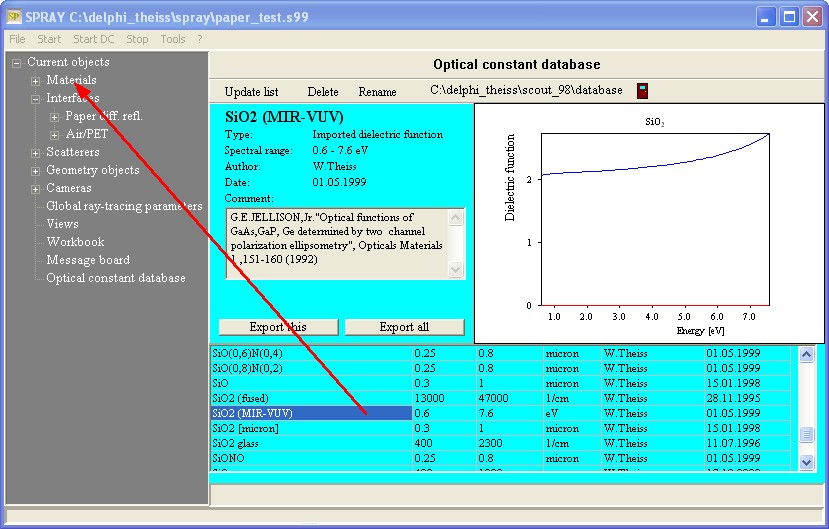
There is only one drag&drop exception: If you want to move a material object from the Database of optical constants you have to drag the material from the database grid on the right to the Materials branch in the treeview on the left. Here is an example: