Support for several OceanOptics spectrometers has been integrated into SCOUT. Before you can use OceanOptics hardware in SCOUT, you have to install the original OceanOptics software (for example OOIBase32) and make sure that the hardware is running properly. The file ooidrv.ini (located in the Windows directory) should contain the correct spectrometer and ADC type.
Up to now we have integrated support for the following spectrometer types:
•ADC1000USB
•USB2000
•USB4000
•NIR512
In addition, the very flexible Omnidriver has been implemented which automatically scans for attached spectrometers and lets you select the one you want to work with.
If your spectrometer is not listed above please contact us in order to find out if support for your hardware can be integrated into SCOUT as well.
In some cases the wavelength calibration for the spectrometer pixels could not be read from the hardware. In these cases it turned out to be necessary to create a text file with wavelength information in order to get the required wavelength assignment into SCOUT - in such a case you should contact us as well.
Like any other spectrometer object in SCOUT OceanOptics hardware can be represented in the main view as shown below. The gray rectangle with in the lower right corner has buttons for doing the Dark measurement and the Background measurement. The dark measurement should be performed first - using a 'black' sample such that no light from the sample stage reaches the detector. Secondly the background spectrum must be taken using a calibrated mirror in the case of reflectance or an empty sample stage in the case of transmittance. Having done the dark and background spectrum, you can execute the sample measurement pressing the Acquire button in the view, i.e. the arrow button in the example below:
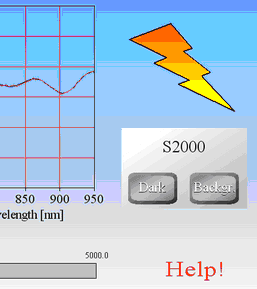
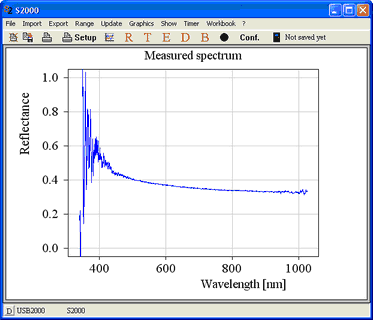
Holding the Ctrl-key down and clicking the name of the spectrometer (S2000 in this case) a window with access to all details of the spectrometer opens. The main graph shows the final sample spectrum (in this case: the absolute reflectance):
The menu command Show|Dark spectrum opens a subwindow displaying the recorded dark signal:

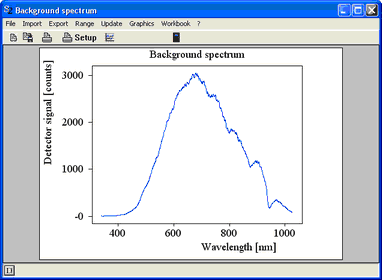
The background signal is shown in the subwindow that opens with the spectrometer window command Show|Background spectrum:
The absolute reflectance of a sample is computed as
R = Rcorrection * (SSample - SDark) / (SBackground - SDark)
Here SSample is the sample signal, SDark the dark signal and SBackground the background signal.
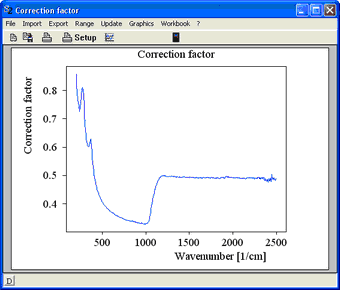
The absolute reflectance of the reference mirror Rcorrection can be entered in the subwindow that opens with the menu command Show|Correction factor. A silicon wafer (polished on both sides), for example, has a reflectance like this:
The button 'Conf.' opens the spectrometer configuration dialog:

In most cases it is sufficient to enter the serial number of the spectrometer, the integration time in ms and some averaging parameters: You can average the signal of several neighboured pixels, several scans within the spectrometer hardware and several final spectra in SCOUT.
The integration time should be chosen such that the dynamic range of the spectrometer is used efficiently without reaching the upper limit. If the integration time is too large, an overexposure of one of the pixels may occur. In this case you might get a warning like the following

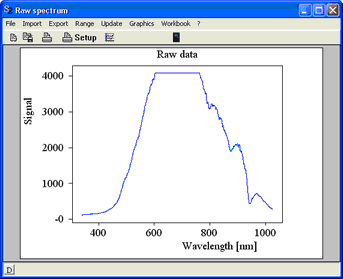
and the corresponding signal might look like this (in the case of a 12 bit detector which has a maximum number of counts of 4095):
