You can set several program options to influence the behaviour of SCOUT. These are accessible using the File|Options submenu.
Here is a list of implemented options:
Password
You can protect a SCOUT configuration by setting a password. However, this protection only works with the main menu switched off. To turn the main menu on or to modify view elements, the user needs to know the password.
If the password is empty (this is the default setting at program start) SCOUT will not ask for a password verification.
Username
If you specify a username SCOUT will enter it automatically if you add a material to the database.
Database
In order to connect to a database different from the default database you have to use the File|Options|Database command in the main window. Specify the new database folder in the subsequent dialog and you are connected to the new database.
Sample description
Use this command to enter the description of the sample. The sample description can be displayed in a view using the corresponding view object.
Sample descriptions are usually used in combination with batch control.
Toolbar
This is a submenu with switches that control the visibility of the various toolbar buttons.
See the section about configuring SCOUT for routine work.
Rating
This submenu gives access to the rating settings. The following submenu commands are available:
•Show: check or uncheck this option to show (or not show) rating information
•Change level threshold: Use this command to modify the threshold of a quality level
•Change level description: Use this command to modify the description of a quality level
•Show settings: This command opens a short dialog like the following which displays the current settings:
•

Batch control
Submenu related to the batch control window with the following commands:
•Synchronize batch control window: Right side: If you check this option the batch control window will appear to the right side of the main window and fill the rest of the screen whenever you re-size the main window
•Synchronize batch control window: Bottom: If you check this option the batch control window will appear at the bottom of the main window and fill the rest of the screen whenever you re-size the main window
•Batch control always on top: When this option is checked the batch control window will always be on top of other windows
Appearance
Submenu with the following items
•Main window dimensions: Use this command to set the size of the main window in 4 short dialogs. You are asked for the position of the upper left corner on the screen and the window width and height.
•Laptop dimensions: Use this command to fill the typical screen of a laptop computer with the main window (1024 by 768 pixels). This command is convenient if you prepare presentations for beamers with this resolution.
•Statusbar: This menu item can be switched on and off. The statusbar at the bottom of the main window is displayed or not depending on the setting.
•Menu visible at start: Uncheck this option if you want to hide the menu after loading the configuration. This is useful for presentations
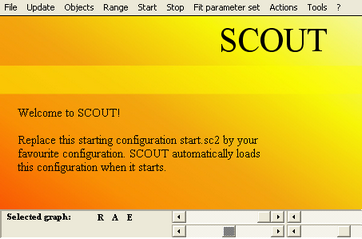
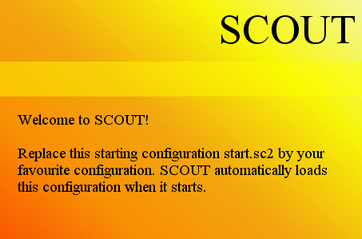
•Presentation style: If you check this option the main window is shown without title bar, surrounding frame and Windows control elements:

With switched-off statusbar and menu it looks like this:

•Laptop presentation style: The same as the 'Presentation style' command above, but with simultaneous re-scaling to the 1024*768 resolution
•Show sliders after loading: This is a switch that controls if sliders are automatically displayed at program start. See the section about configuring SCOUT for routine work.
•Show spectra after loading: This is a switch that controls if the spectra windows are automatically displayed at program start. See the section about configuring SCOUT for routine work.
Data acquisition
Submenu with items related to spectrum recording:
•Save acquired spectra: Check this item if you want to save the measured spectra to data files after data acquisition
•Start fit after acquiring new spectra: If checked, a parameter fit is automatically started when the data acquisition has finished
Animation
Submenu to control parameter animation:
•Parameter animation interval: Use this command to set the delay between two subsequent states of the animation