Working in the treeview level |
  
|
Working in the treeview level |
|
Having pressed the F7 key in the main view you enter the treeview level which is used to make changes to the SCOUT configuration:
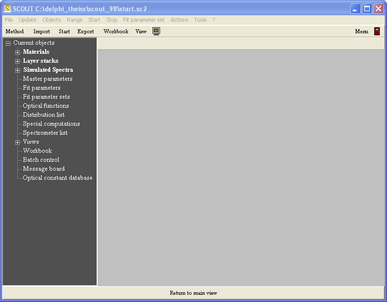
We will setup a simple SCOUT model now in order to show how to work in the treeview level. The goal is to compute the reflectance spectrum of a silver layer on a glass substrate, load experimental data and fit the silver thickness. The relevant items are to be placed in the main view in order to give a good overview.
Let's start to modify the main view: The current view items will be deleted and a new background picture will be loaded. In order to do so, open the item Views in the treeview (by clicking at the plus sign to the left) and right-click the item 'Start screen'. On the right side the list of view items appears:

Note that the view item list has a menu and controls of its own - in fact, it's a frameless window of its own, displayed inside the area of the main window. Use the menu item Delete all to delete all items. Then select in the dropdown box to the right of the + sign the new object type 'Metafile view'. Then press the + sign or use the menu command New. Click on the new object in the list which is called 'No picture yet' and use the menu item Edit to change the object. Alternatively you can right-click the list item in order to edit it.
Editing a metafile object means to load a metafile graphics from a datafile. Select the file 'silver.emf' in the subfolder pictures in the SCOUT program directory. Then press F7 which switches back to the main view level:
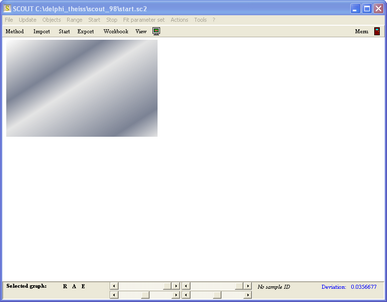
In order to get a background picture, the graph should fill the whole main view. The size and position of a view element (all view elements are rectangles) is given by the parameters Left, Top, Width and Height in the list of view elements. These numbers are percentages with respect to the full size of the view (current values are 1,1,40,40). Press F7 again and type in the numbers 0, 0, 100, 100 as shown below (having typed in a number, press Return to close the edit mode of this parameter):

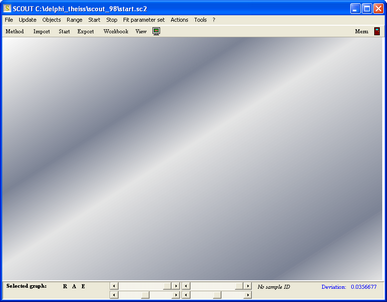
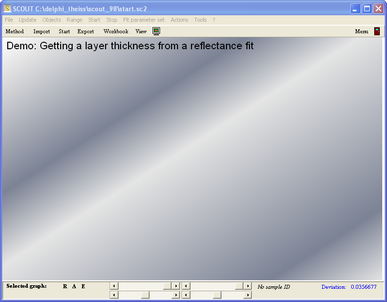
Now press F7 again:
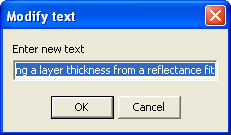
Now we will add some text. Press F7 and generate a new view item of type 'Text view': Select this type in the dropdown box and then use New to generate an object of this type. The new object is called 'Dummy name'. Select it and press Edit. You can now enter the text to be displayed. Type in 'Demo: Getting a layer thickness from a reflectance fit':
The next dialog lets you define a tilt angle. Keep the value of 0° for the moment - we do not want to rotate the text. Finally a color selection dialog is shown. Set the color to black which means we will have black text.
Make sure that the text view object in the list of view items is positioned underneath the metafile view object. The view elements in the list are painted from top to bottom. Hence background objects must be on top of the list so that they are painted first. You can change the position of an object in a list by using the red Up and Down arrows.
Pressing F7 should give something like this now:
In the next steps, we will define the optical model and show the reflectance spectrum and the layer stack in the main view.