If a SCOUT analysis method works fine for almost all input spectra, you may want to process the spectra to be analyzed completely automatic. You can do so using the batch control window as explained below. The proper configuration of the batch control window should have been done by an experienced SCOUT user (the batch features of SCOUT are explained in a separate section). This section describes how to use such a solution.
In order to work in batch mode, you have to have access to the main menu of SCOUT. If the main menu is not visible you can make it appear pressing m on your keyboard. The menu command Actions|Batch control opens the batch control window. The batch window is a kind of workbook which will hold the names of the input spectra and - after having completed the batch fit - the results. It may look like this:

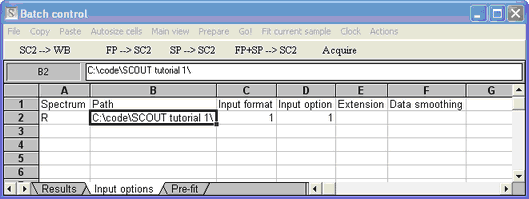
First you should inspect the 'Input options':

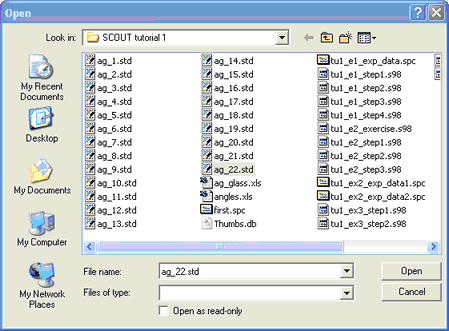
Check, if your input files are really available in the specified path, and if the input format matches (see the section about preparing batch files for more information). Then go back to the 'Results' page and place the cursor in the row of the spectrum for which you have measured spectra (row 6 in our case). Use the batch control menu command Add multiple files and select the last spectrum you want to load in the following dialog (note that the file ag_22.std is selected). Do not press the Open button yet:

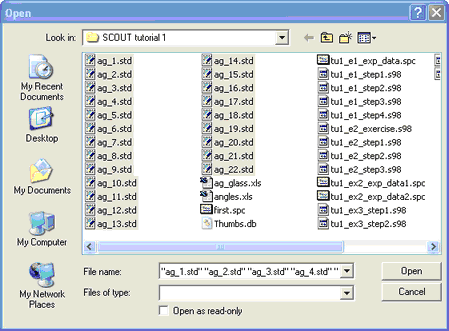
Now hold the Shift key down and click on the first file to be loaded, in our case ag_1.std. This will select all spectra in between:

Now press Open and verify that all filenames have been entered as input spectra into the Results page of the batch control window:

Finally press Go! and wait until the batch fit finishes to process all input spectra. The results are written to the batch control window:

Save the batch control window with SaveAs (you could generate Excel files, for example) or paste the data to the clipboard for subsequent processing. More information about inspecting the results is given in a section below.