The list of layer stacks is opened by a right-click of the corresponding treeview item (Layer stacks). In most cases you will investigate one layer stack only, but SCOUT lets you work with an unlimited number of stacks if you want to. In the list of layer stacks you can create, edit and delete layer stacks. To change a layer stack, select in the list of layer stacks and open its window by the Edit command or a right click with the mouse.
You can open the first layer stack in the list of layer stacks from the main window of SCOUT using the command Actions|Open first layer stack. This is the shortest way to the layer stack definition.
If a layer stack is displayed in a view you can open the layer stack definition window by holding the Ctrl key down while you click on the hotspot of the view element.
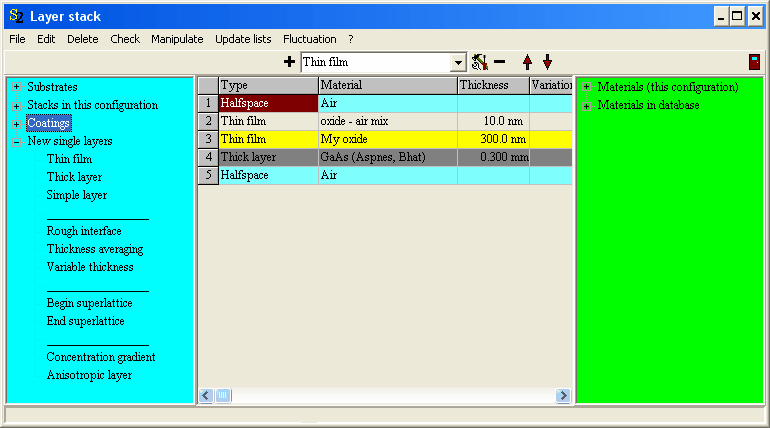
Layer stacks in SCOUT are defined in a list beginning with the top halfspace of the stack and ending with the bottom halfspace. In between an almost arbitrary sequence of thick layers or thin films can be defined. The light beam is incident on the layer stack from the top halfspace. Hence in most cases the top halfspace should be vacuum (or air) as is the case in almost all experiments (except ATR, see below). An example of a simple layer stack definition is this:

The current layer stack definition is shown in the center of the window. On the left side you have access to pre-defined layer stacks, on the right side the available materials to be used in the individual layers are given. The assignment of materials is discussed below.
In order to add new layers you can select the type of the new layer in the dropdown box given in the top of the window (where 'Thin film' is selected). Pressing the '+' button will insert a new layer of the indicated type above the currently selected layer. Use the '-' button to delete the selected layer.
An alternative way to add new layers to the stack is the following: Open in the treeview on the left side the node 'New single layers' by pressing the '+'-sign to the left of it. You will get a list of all available new layer types:

Just drag&drop the layer type to the wanted position in the stack and a new layer of this type is created.
The individual layer types that may occur in a layer stack are discussed below:
Useful commands
Use the command Manipulate|Flip part of layer stack to reverse the order of layers. You are asked to type in the top and the bottom layer of the section to be reversed. Type in the number of the layers that is assigned on the left side, e.g. 2 for the top layer and 3 for the bottom layer if you want to switch 'oxide-air mix' and 'My oxide' in the example given above. The situation afterwards is this:

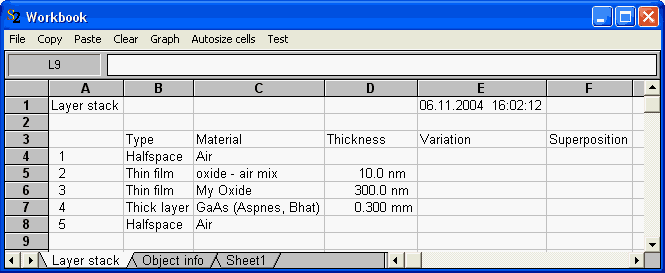
With File|Report you can write the current layer stack definition to the workbook:

In the workbook you can Copy text fractions and paste them into your word processor.
Check
Use this command to check the validity of the current layer stack definition. In a situation like the following

you will get the error message

which reminds you that something is wrong with the 'Begin superlattice' layer (The 'End superlattice' is missing).